Xcode is a large application that serves several purposes for software developers.
Many different types of projects can be created for a variety of Apple hardware platforms.
This short tutorial will show you how to create a command-line project that runs on macOS.
Create the project
To create a project, make sure that Xcode is in the foreground on your computer by clicking it’s icon in the Dock:

From the menu bar at top left, choose File > New > Project…:
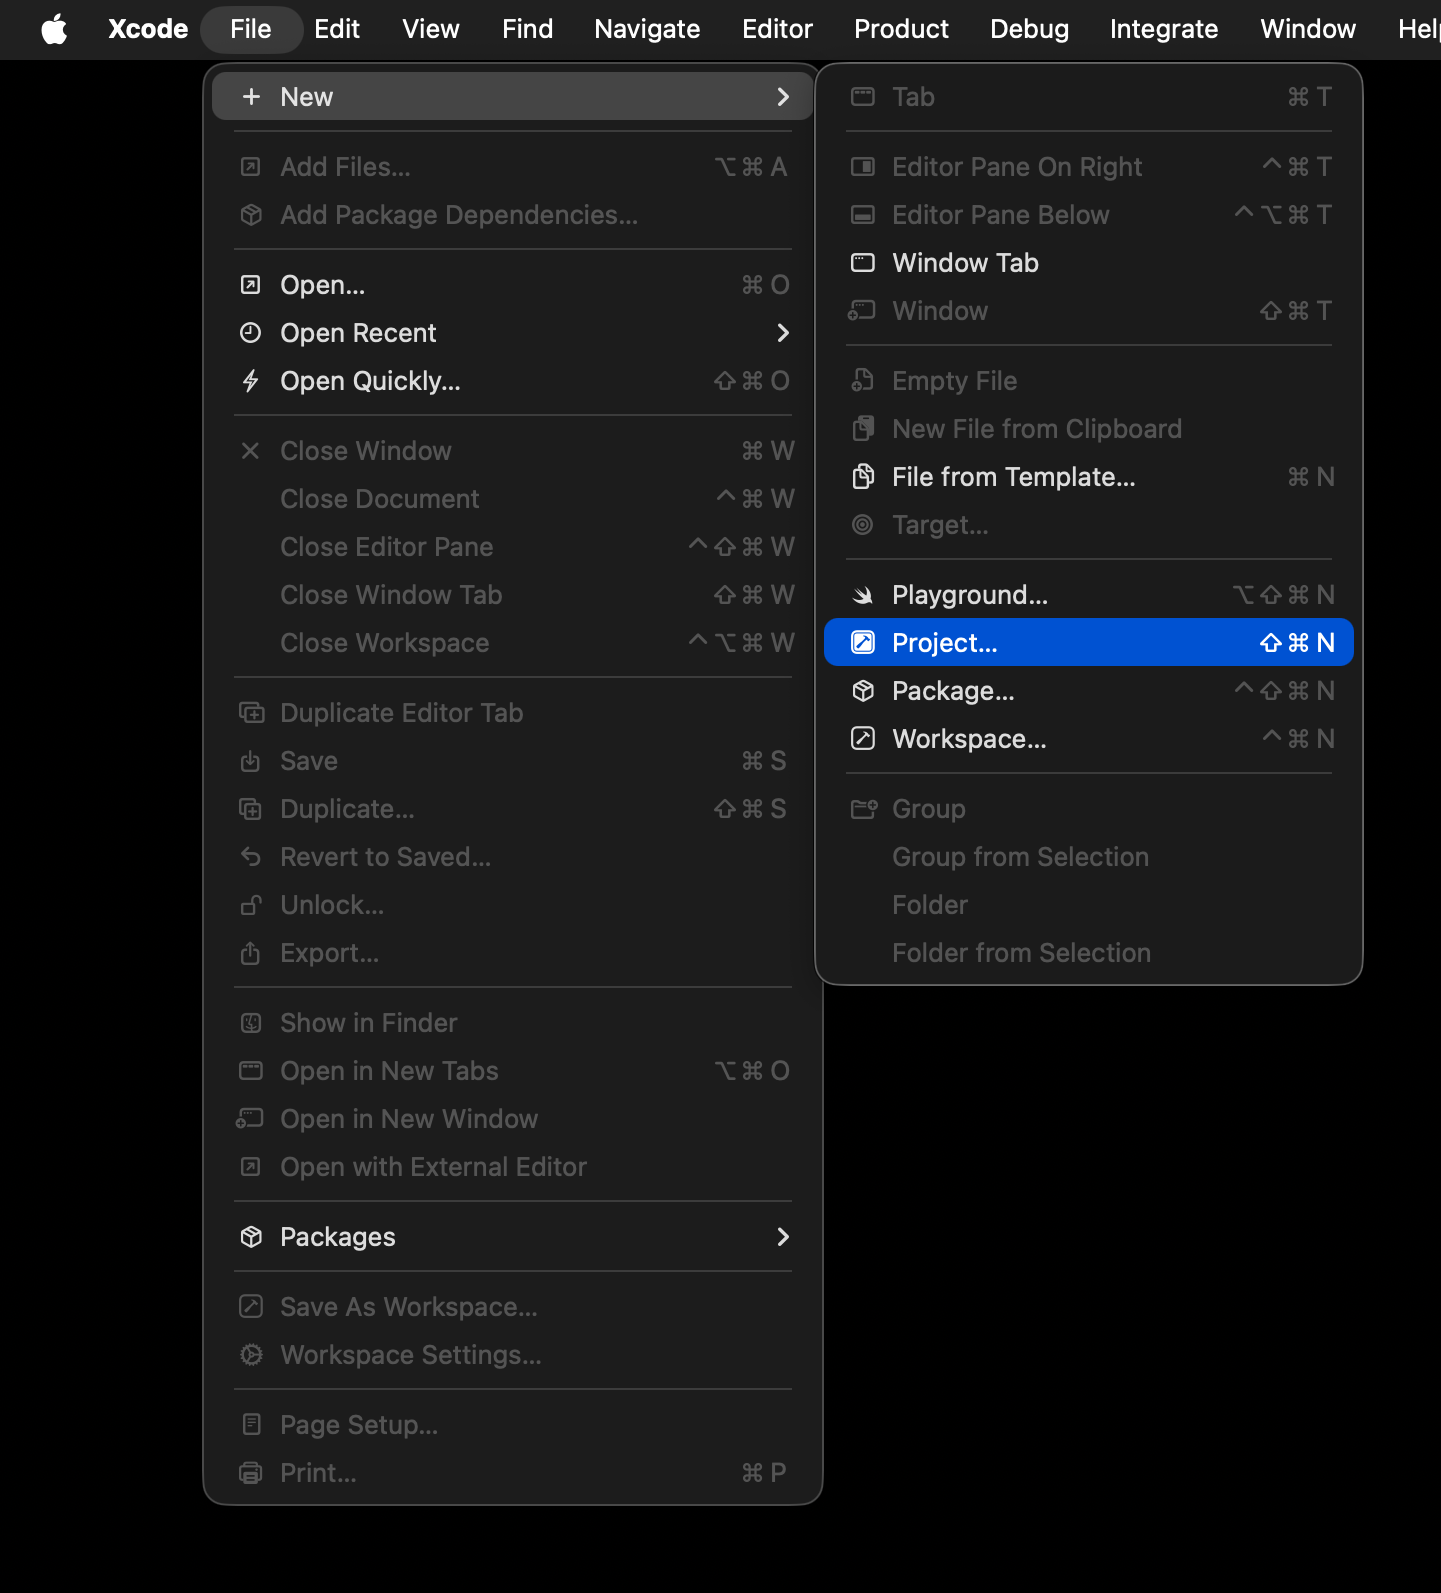
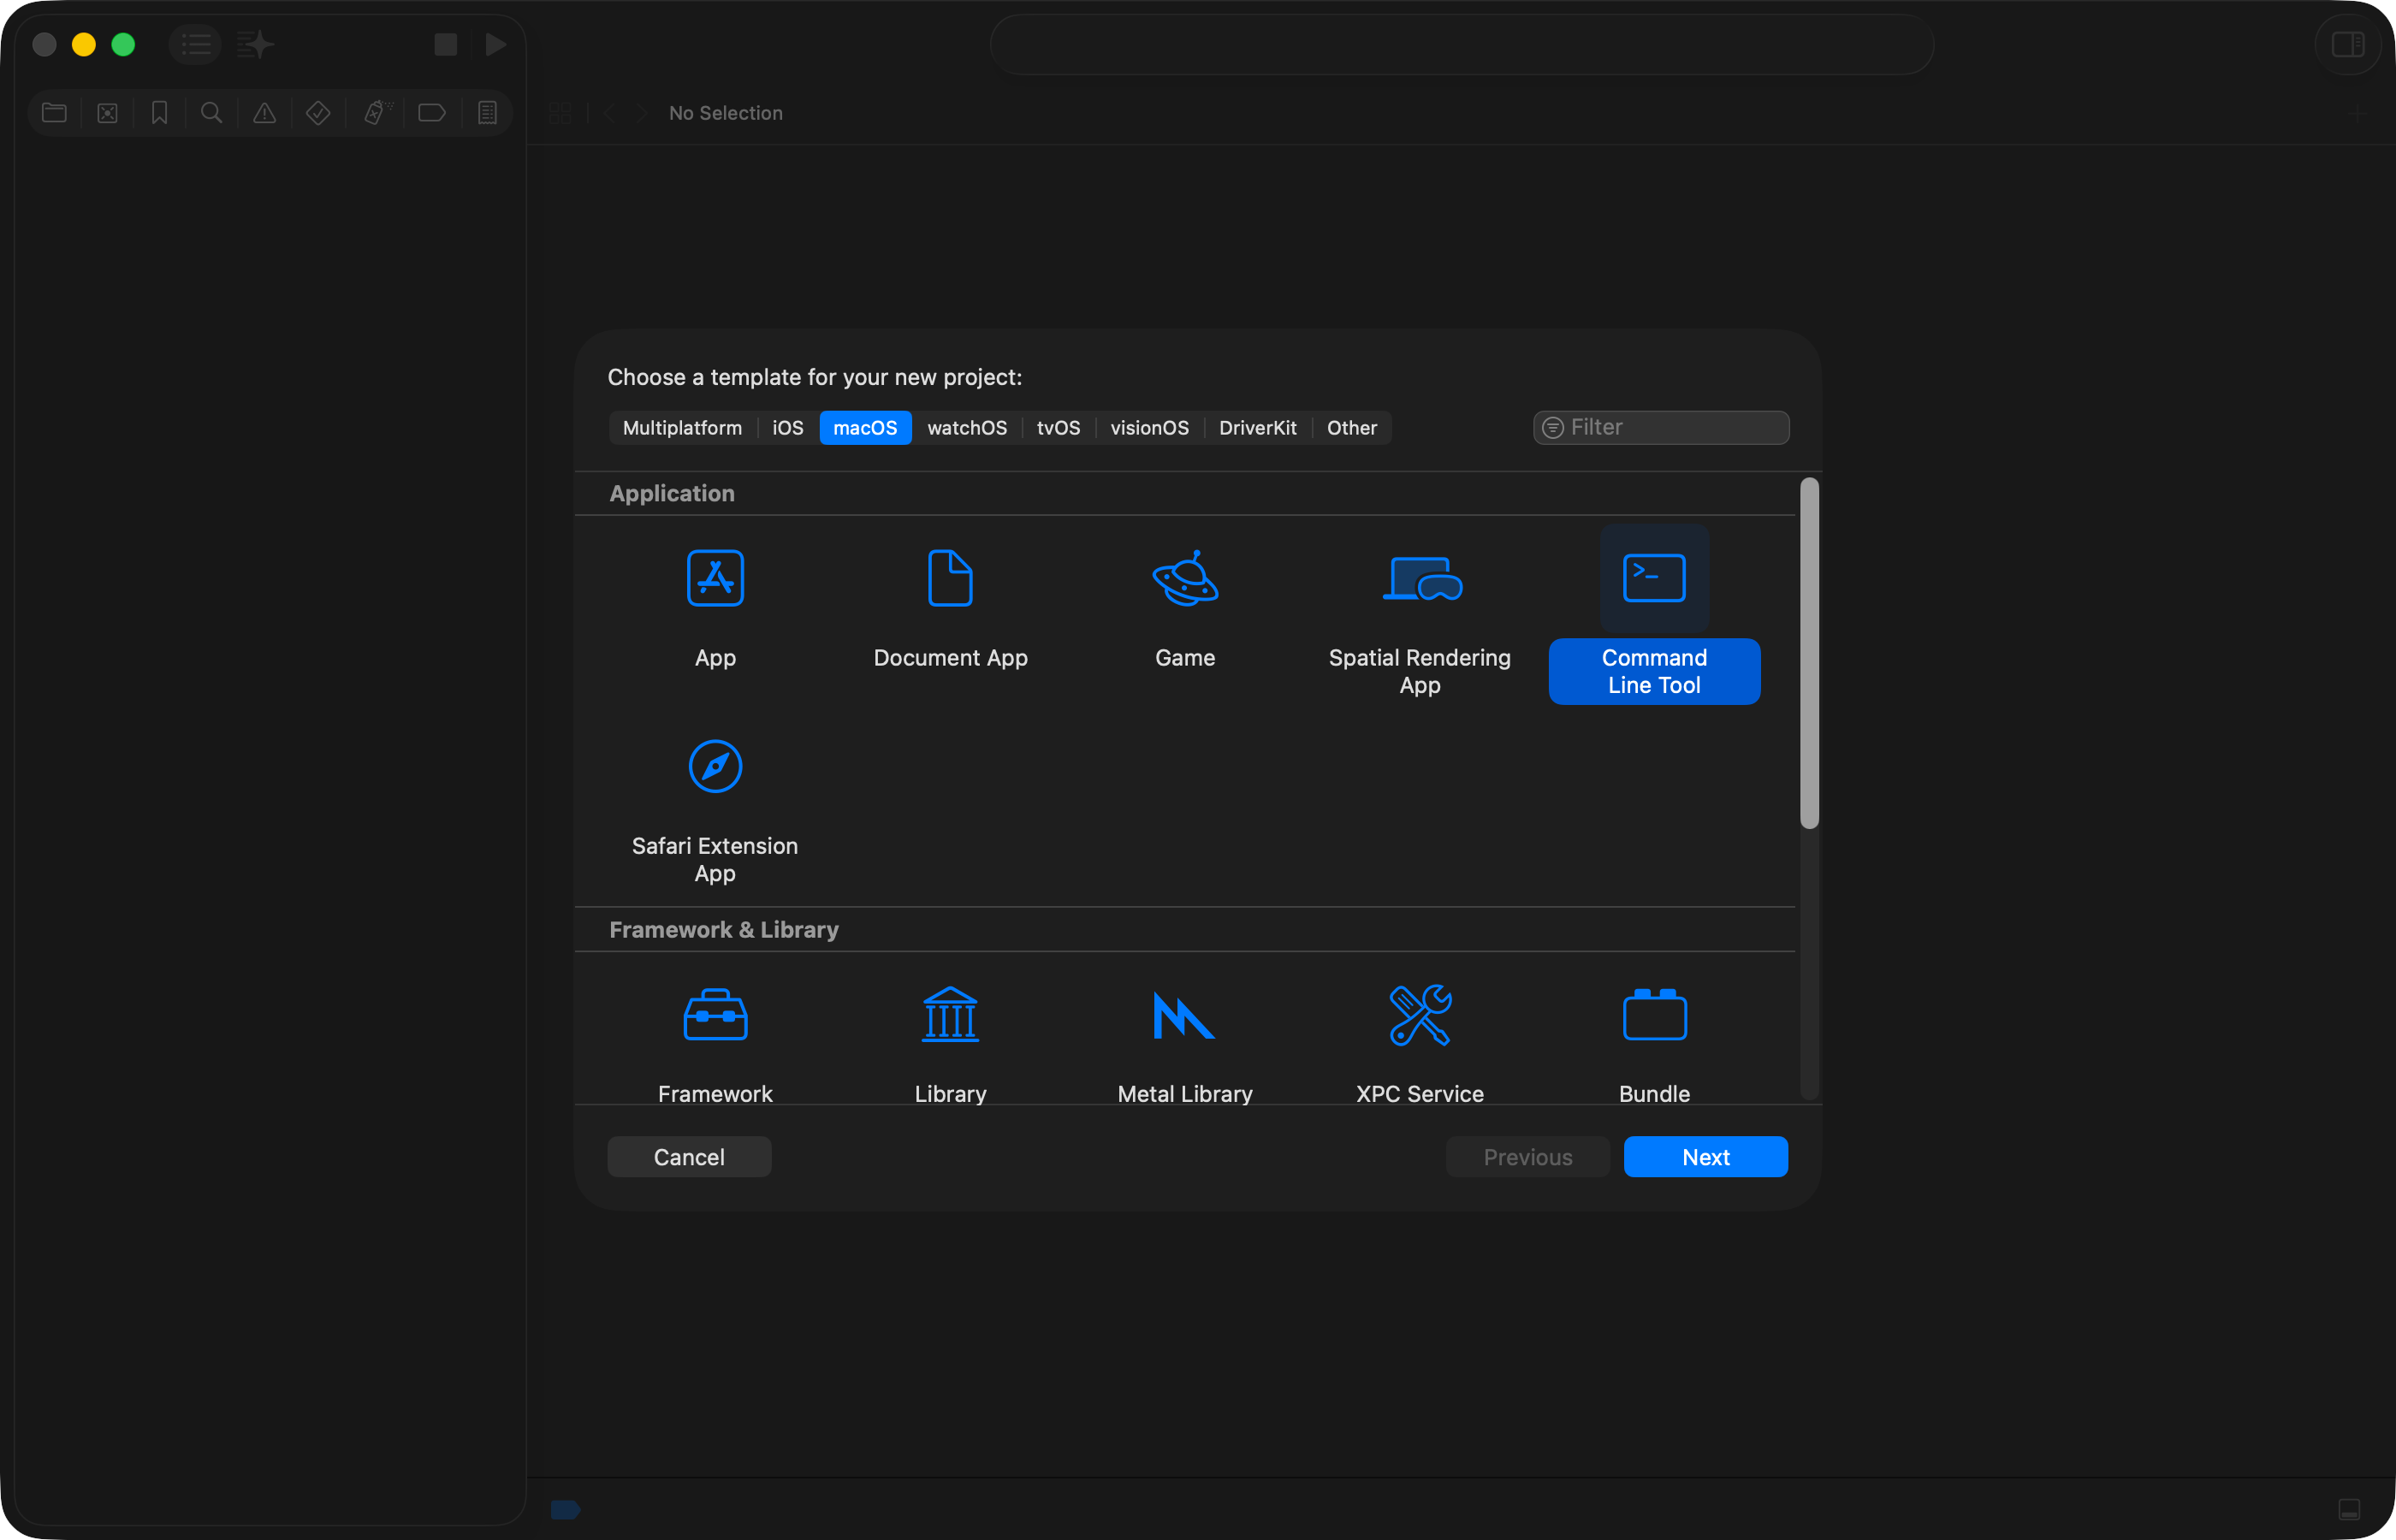
You will see the following window – here, choose the ==macOS== tab, then Command Line Tool, and then Next:
On the next screen:
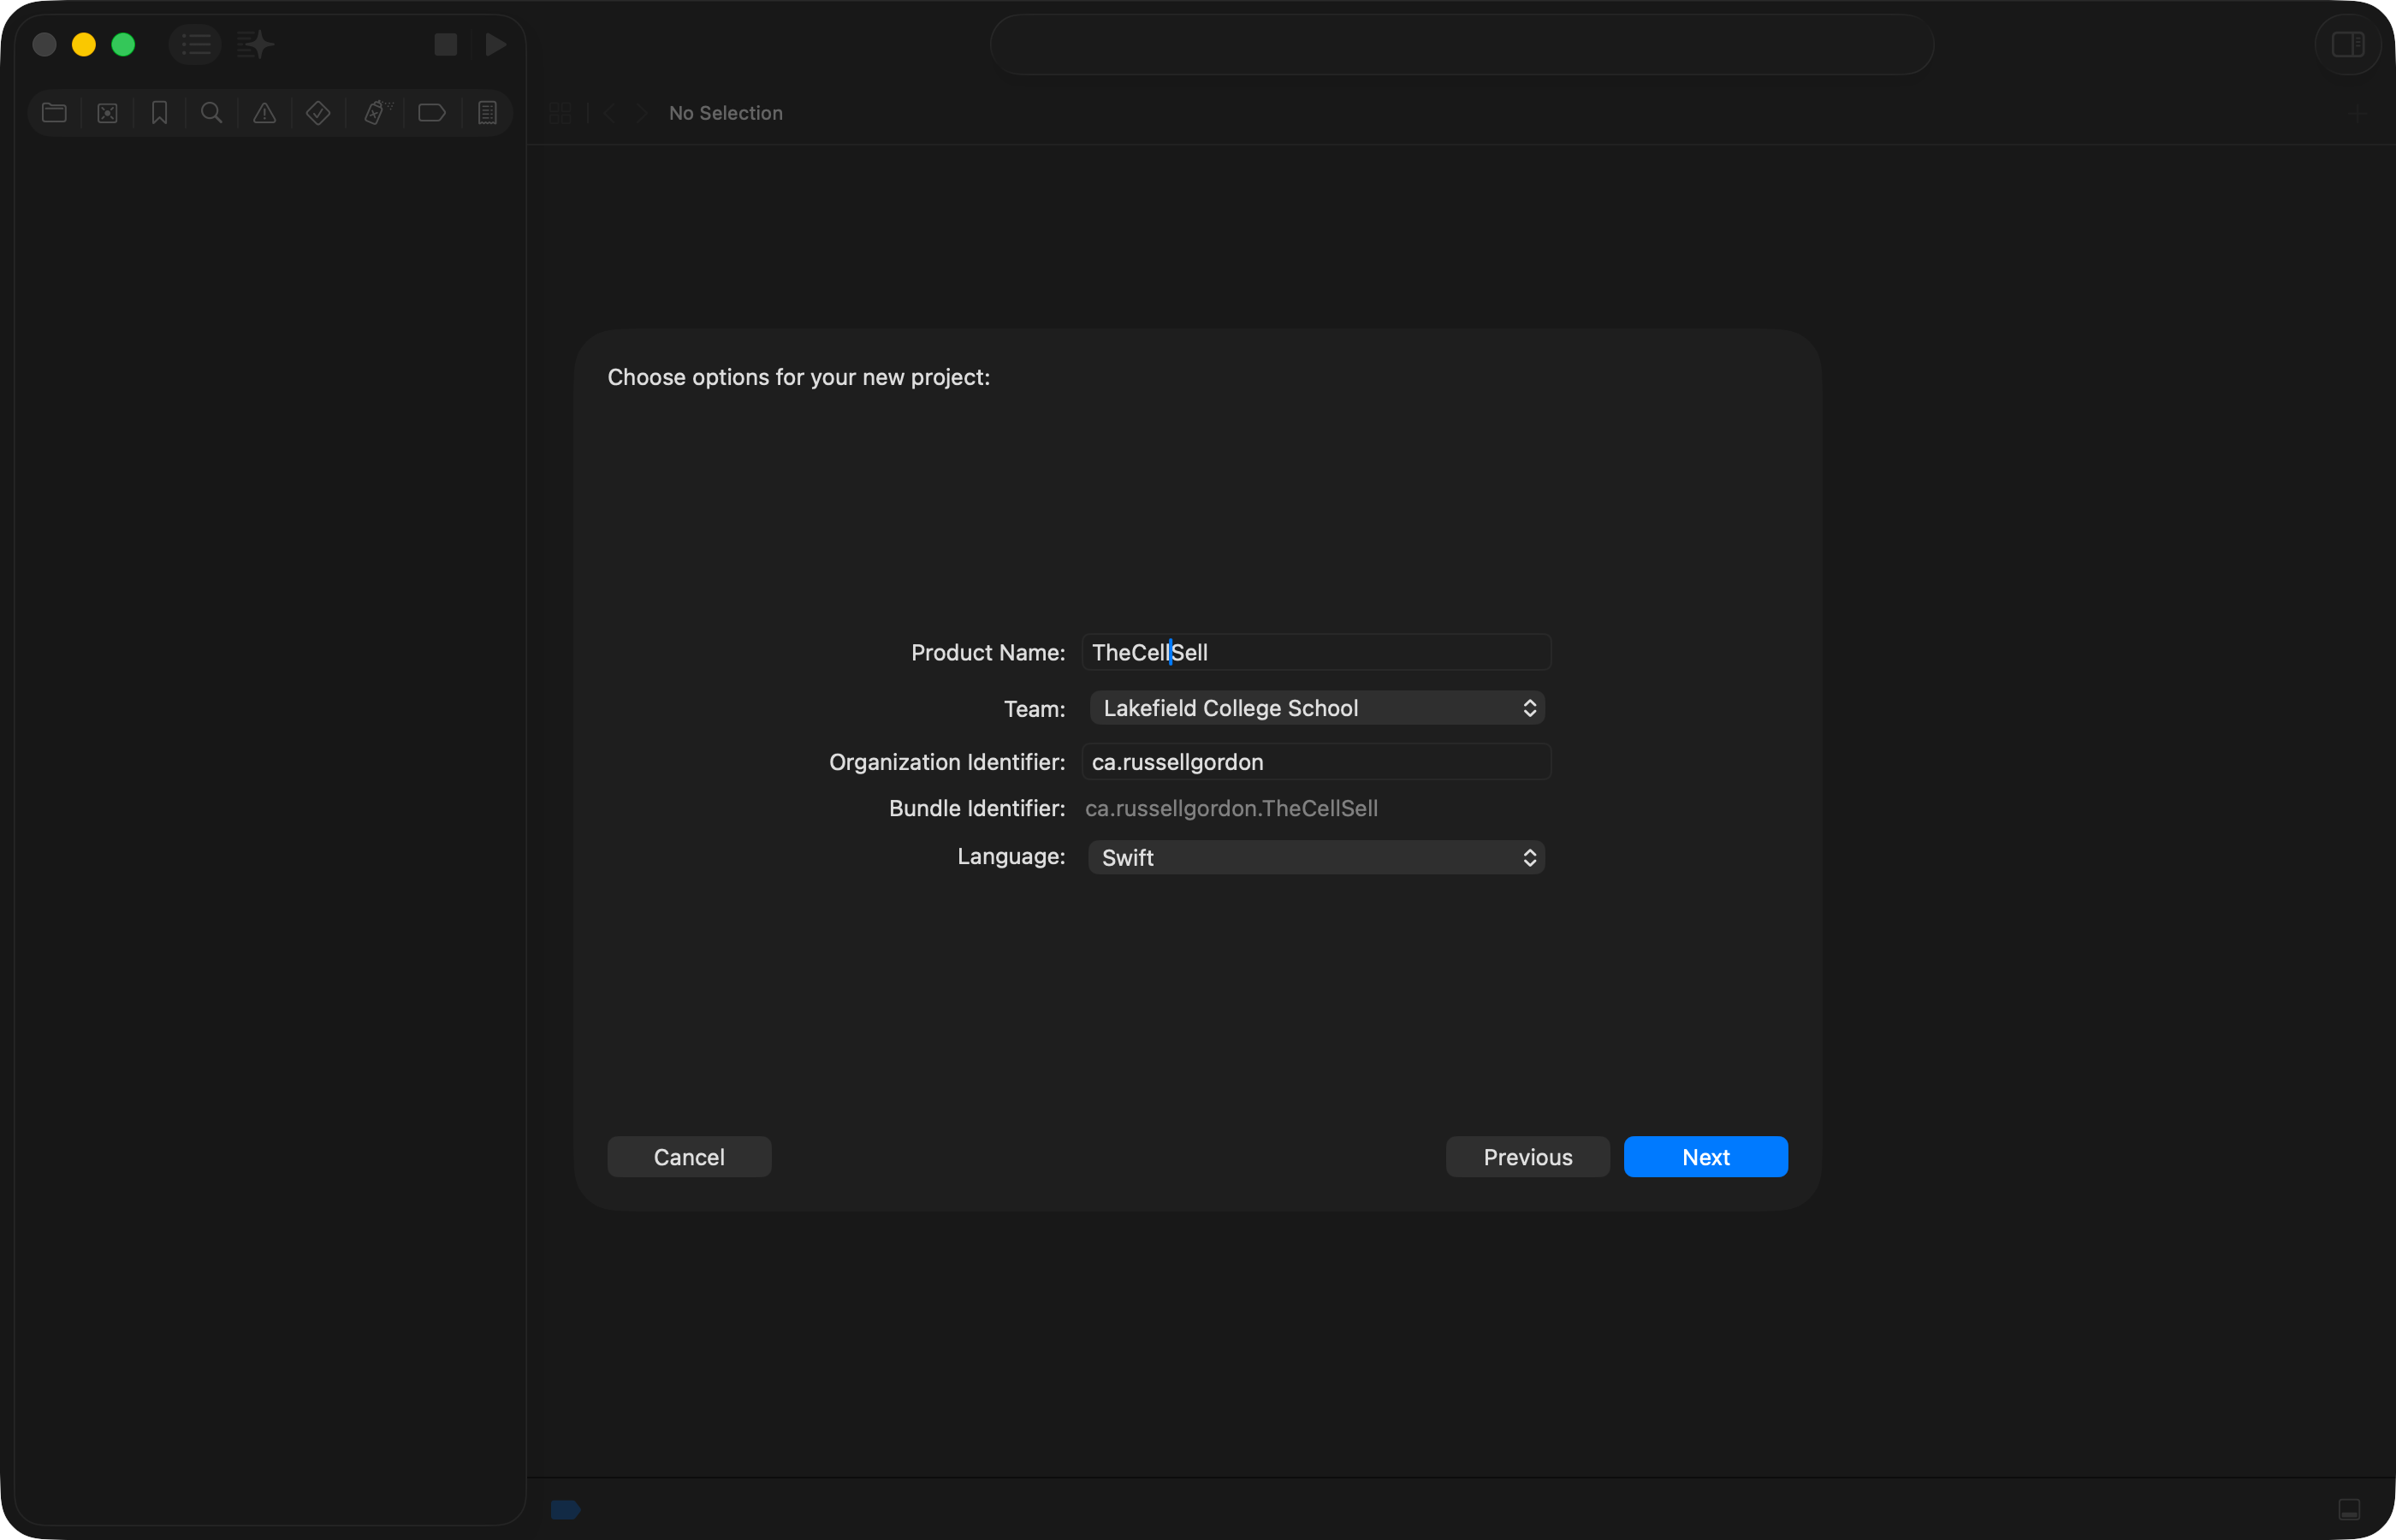
- Give your project a descriptive product name – do not use spaces or punctuation.
- Select a team – if available, choose Lakefield College School, otherwise choose your name.
- For the organization identifier, imagine that you had your own website, like Mr. Gordon does. His website is at
russellgordon.ca. Typically, software developers choose an organization identifier that is their website domain, reversed. So, Mr. Gordon would typeca.russellgordonfor the organization identifier. Neil Shah might useca.neilshah, which is totally acceptable, even if Neil doesn’t actually own theneilshah.cadomain name. - For the language, choose Swift.
Then, click Next.
On the following screen, choose where to save your project – and whether you want to keep track of revisions using source control by creating a local Git repository:
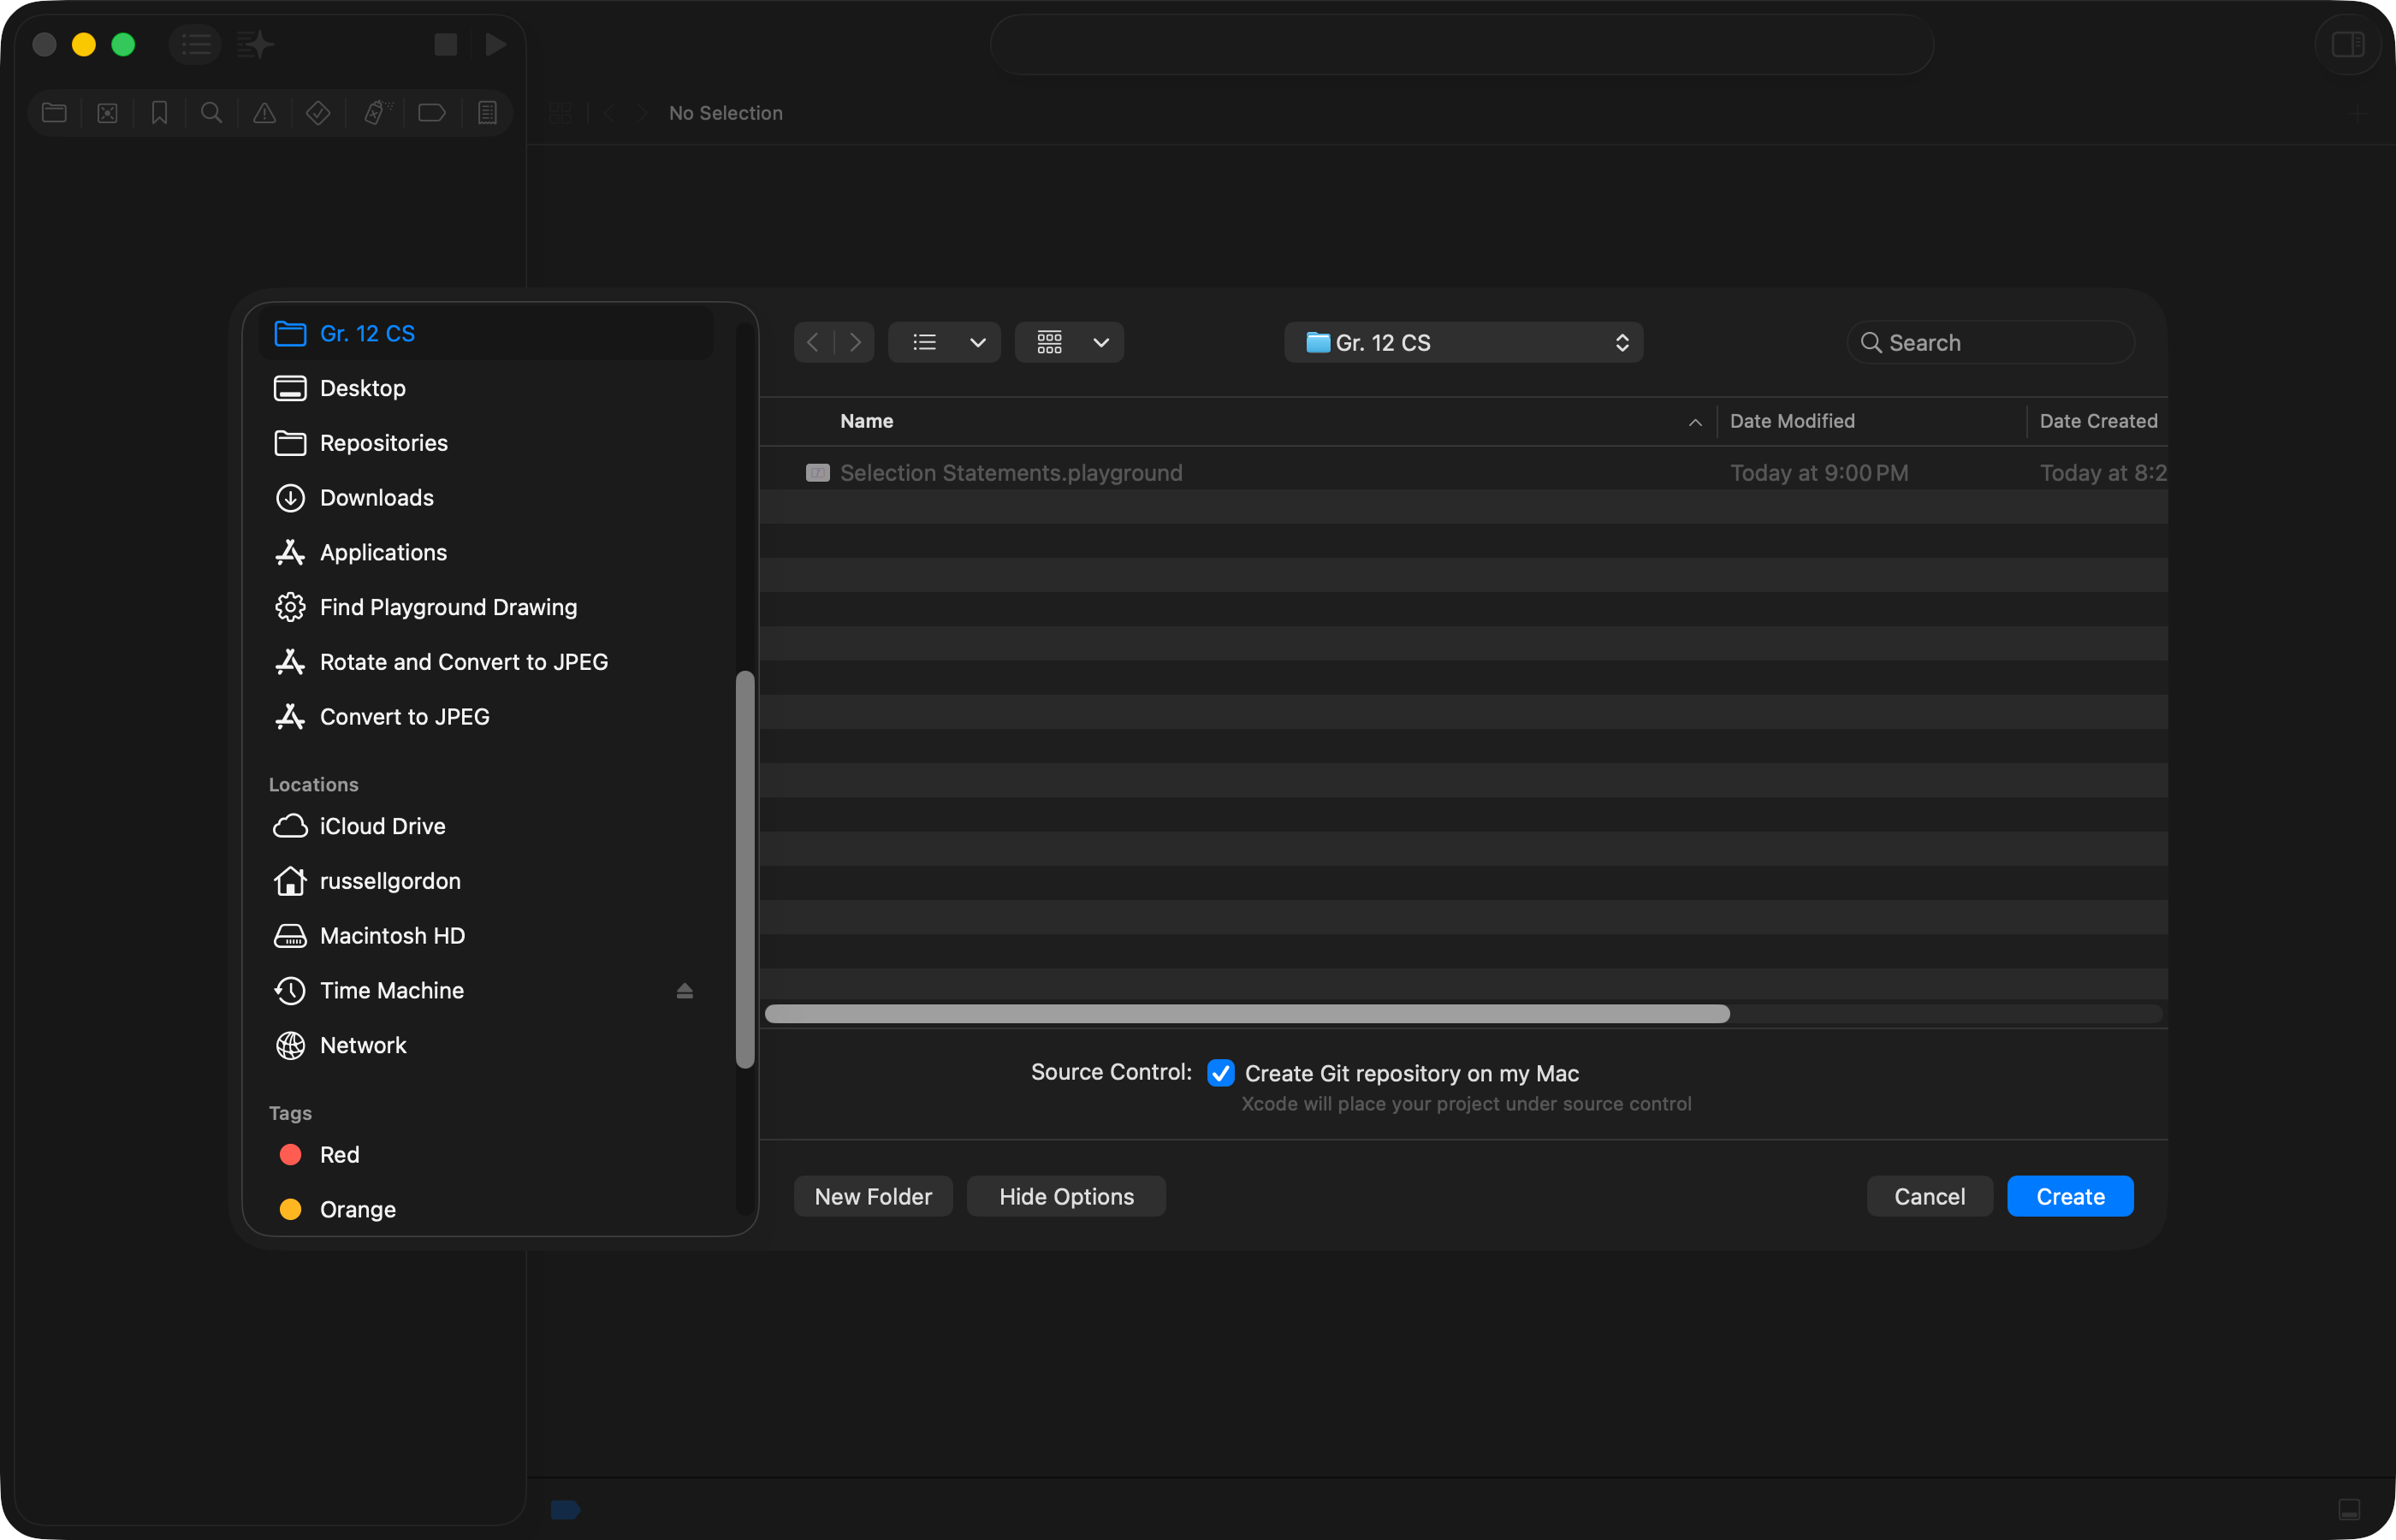
NOTE
Normally, you will want to create a local Git repository to use source control.
However, if you have not set up source control yet on your computer, you can leave that box unchecked.
Begin coding
You will see the following when your project first opens:

This is the screen where you can configure how the command-line project will be compiled into an actual executable application on your computer.
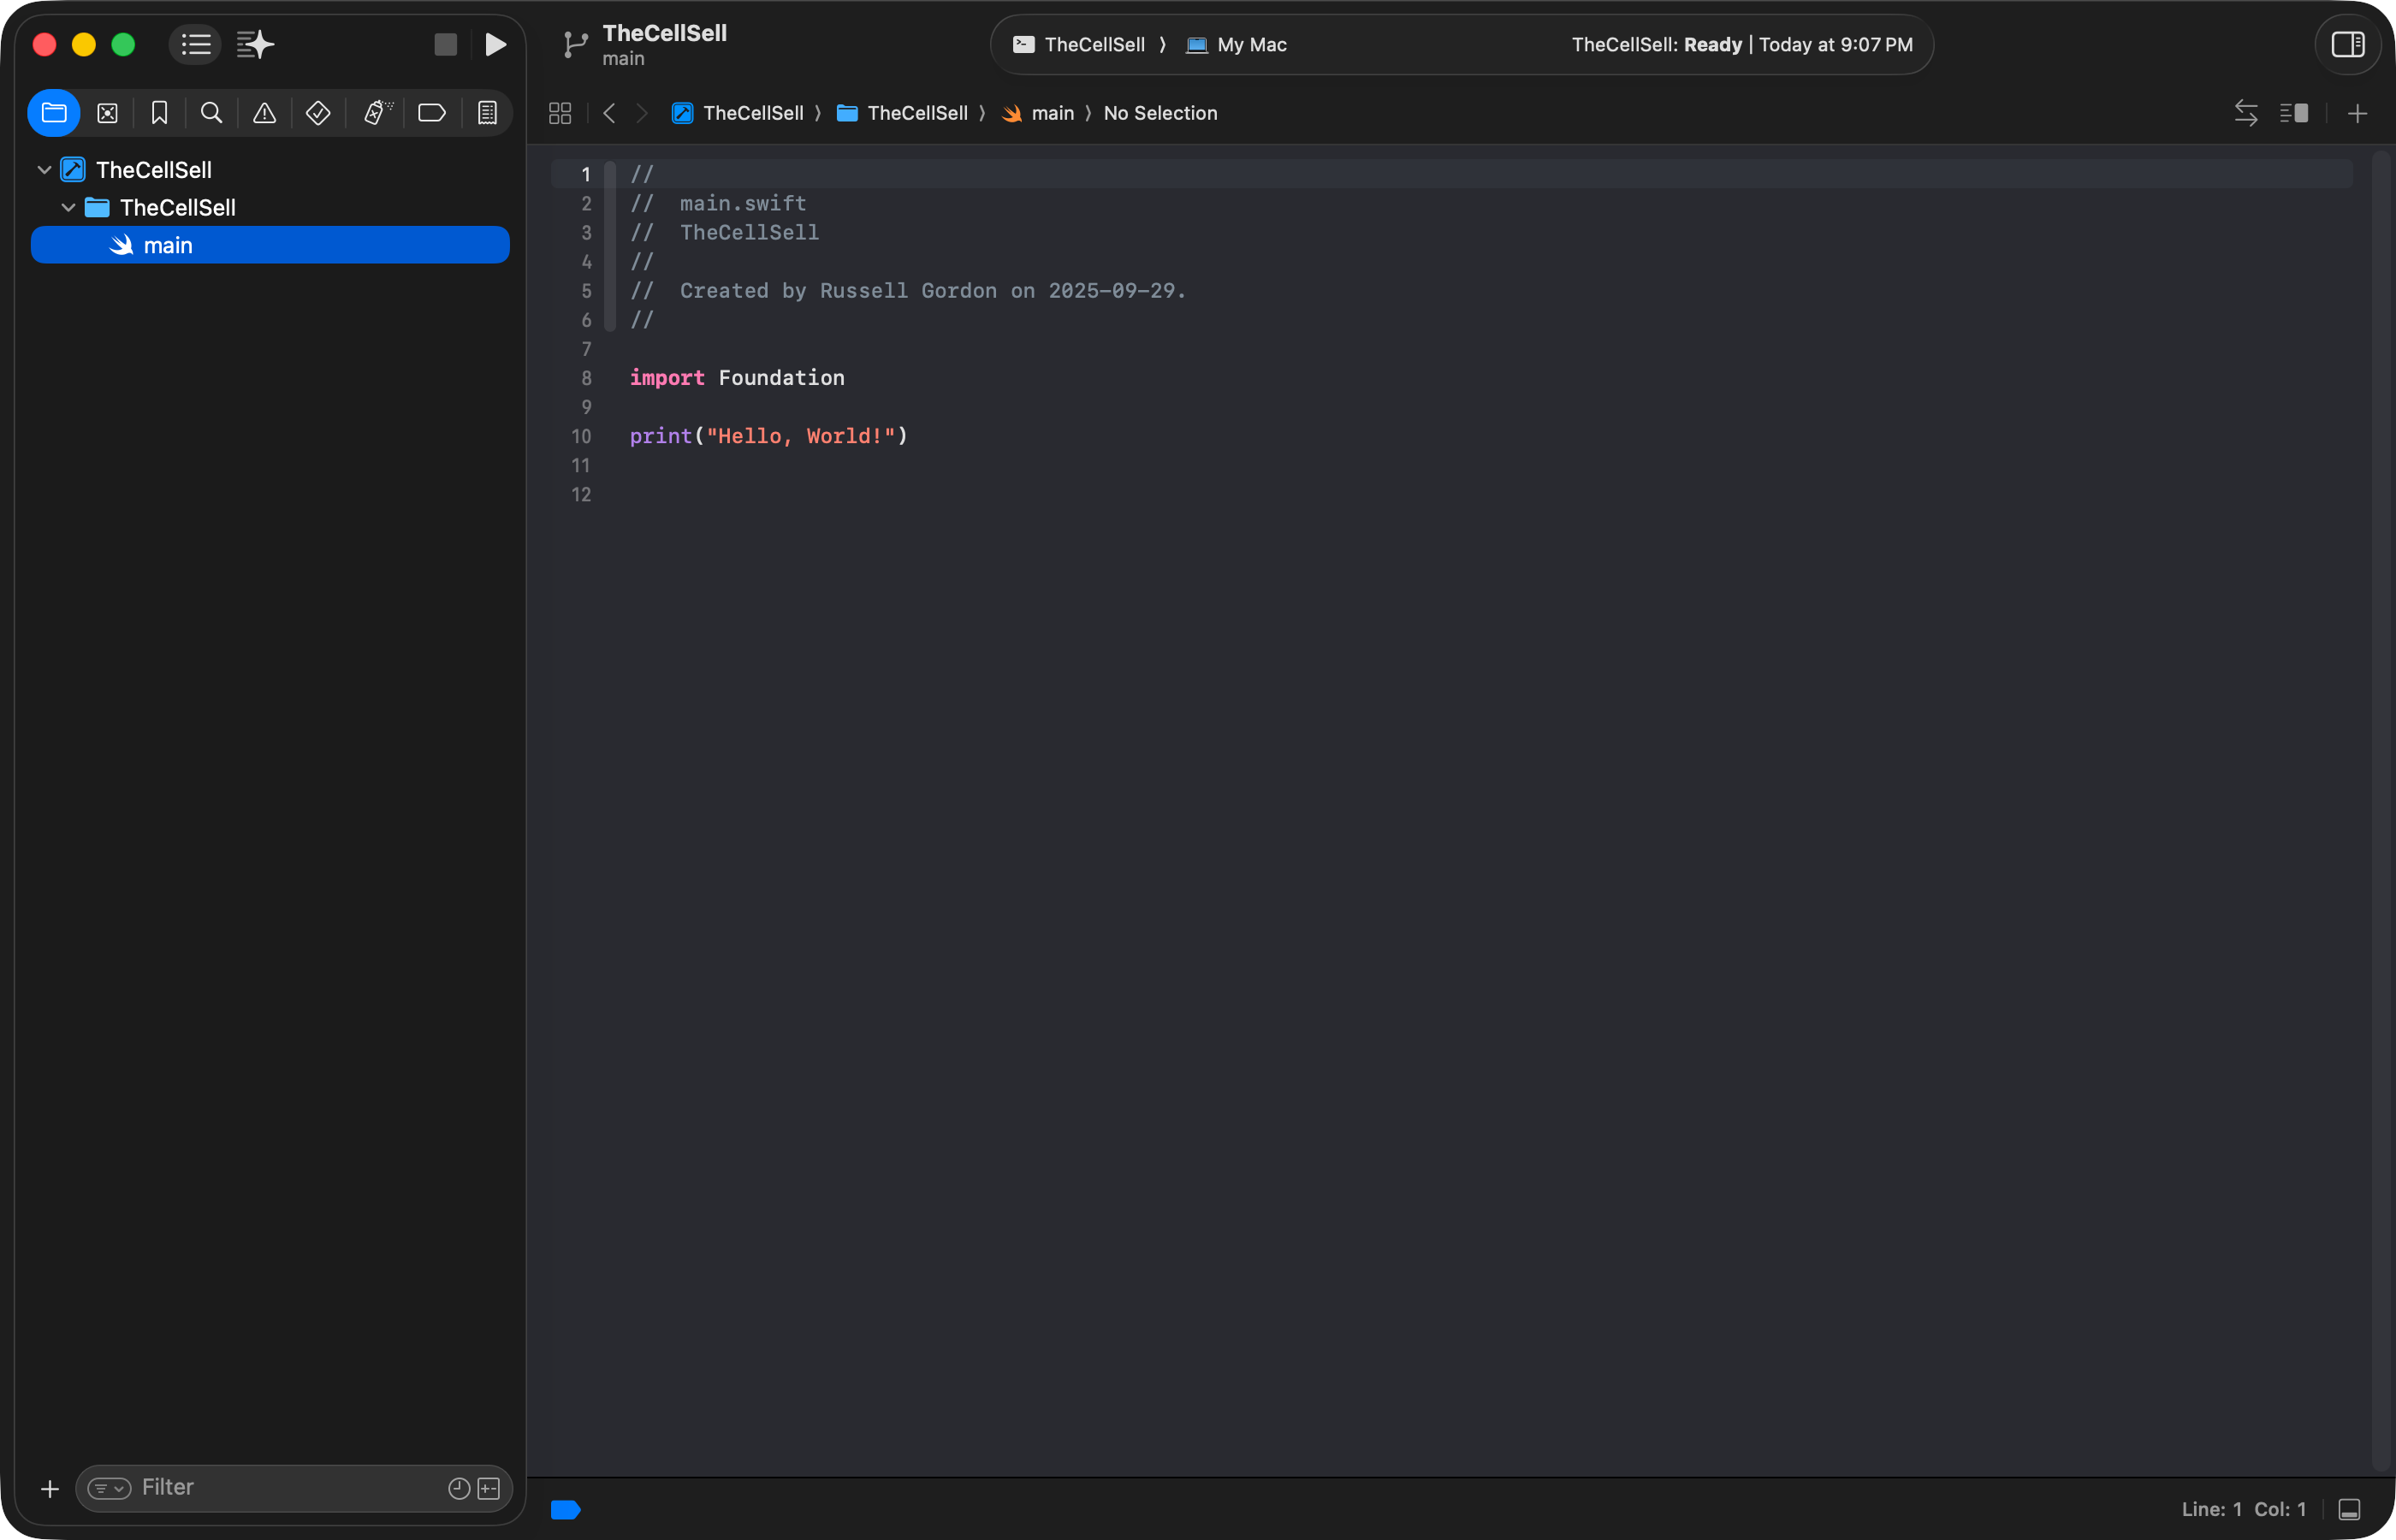
Normally, no changes are required here. So, switch to the main.swift file using the Project Navigator at left:
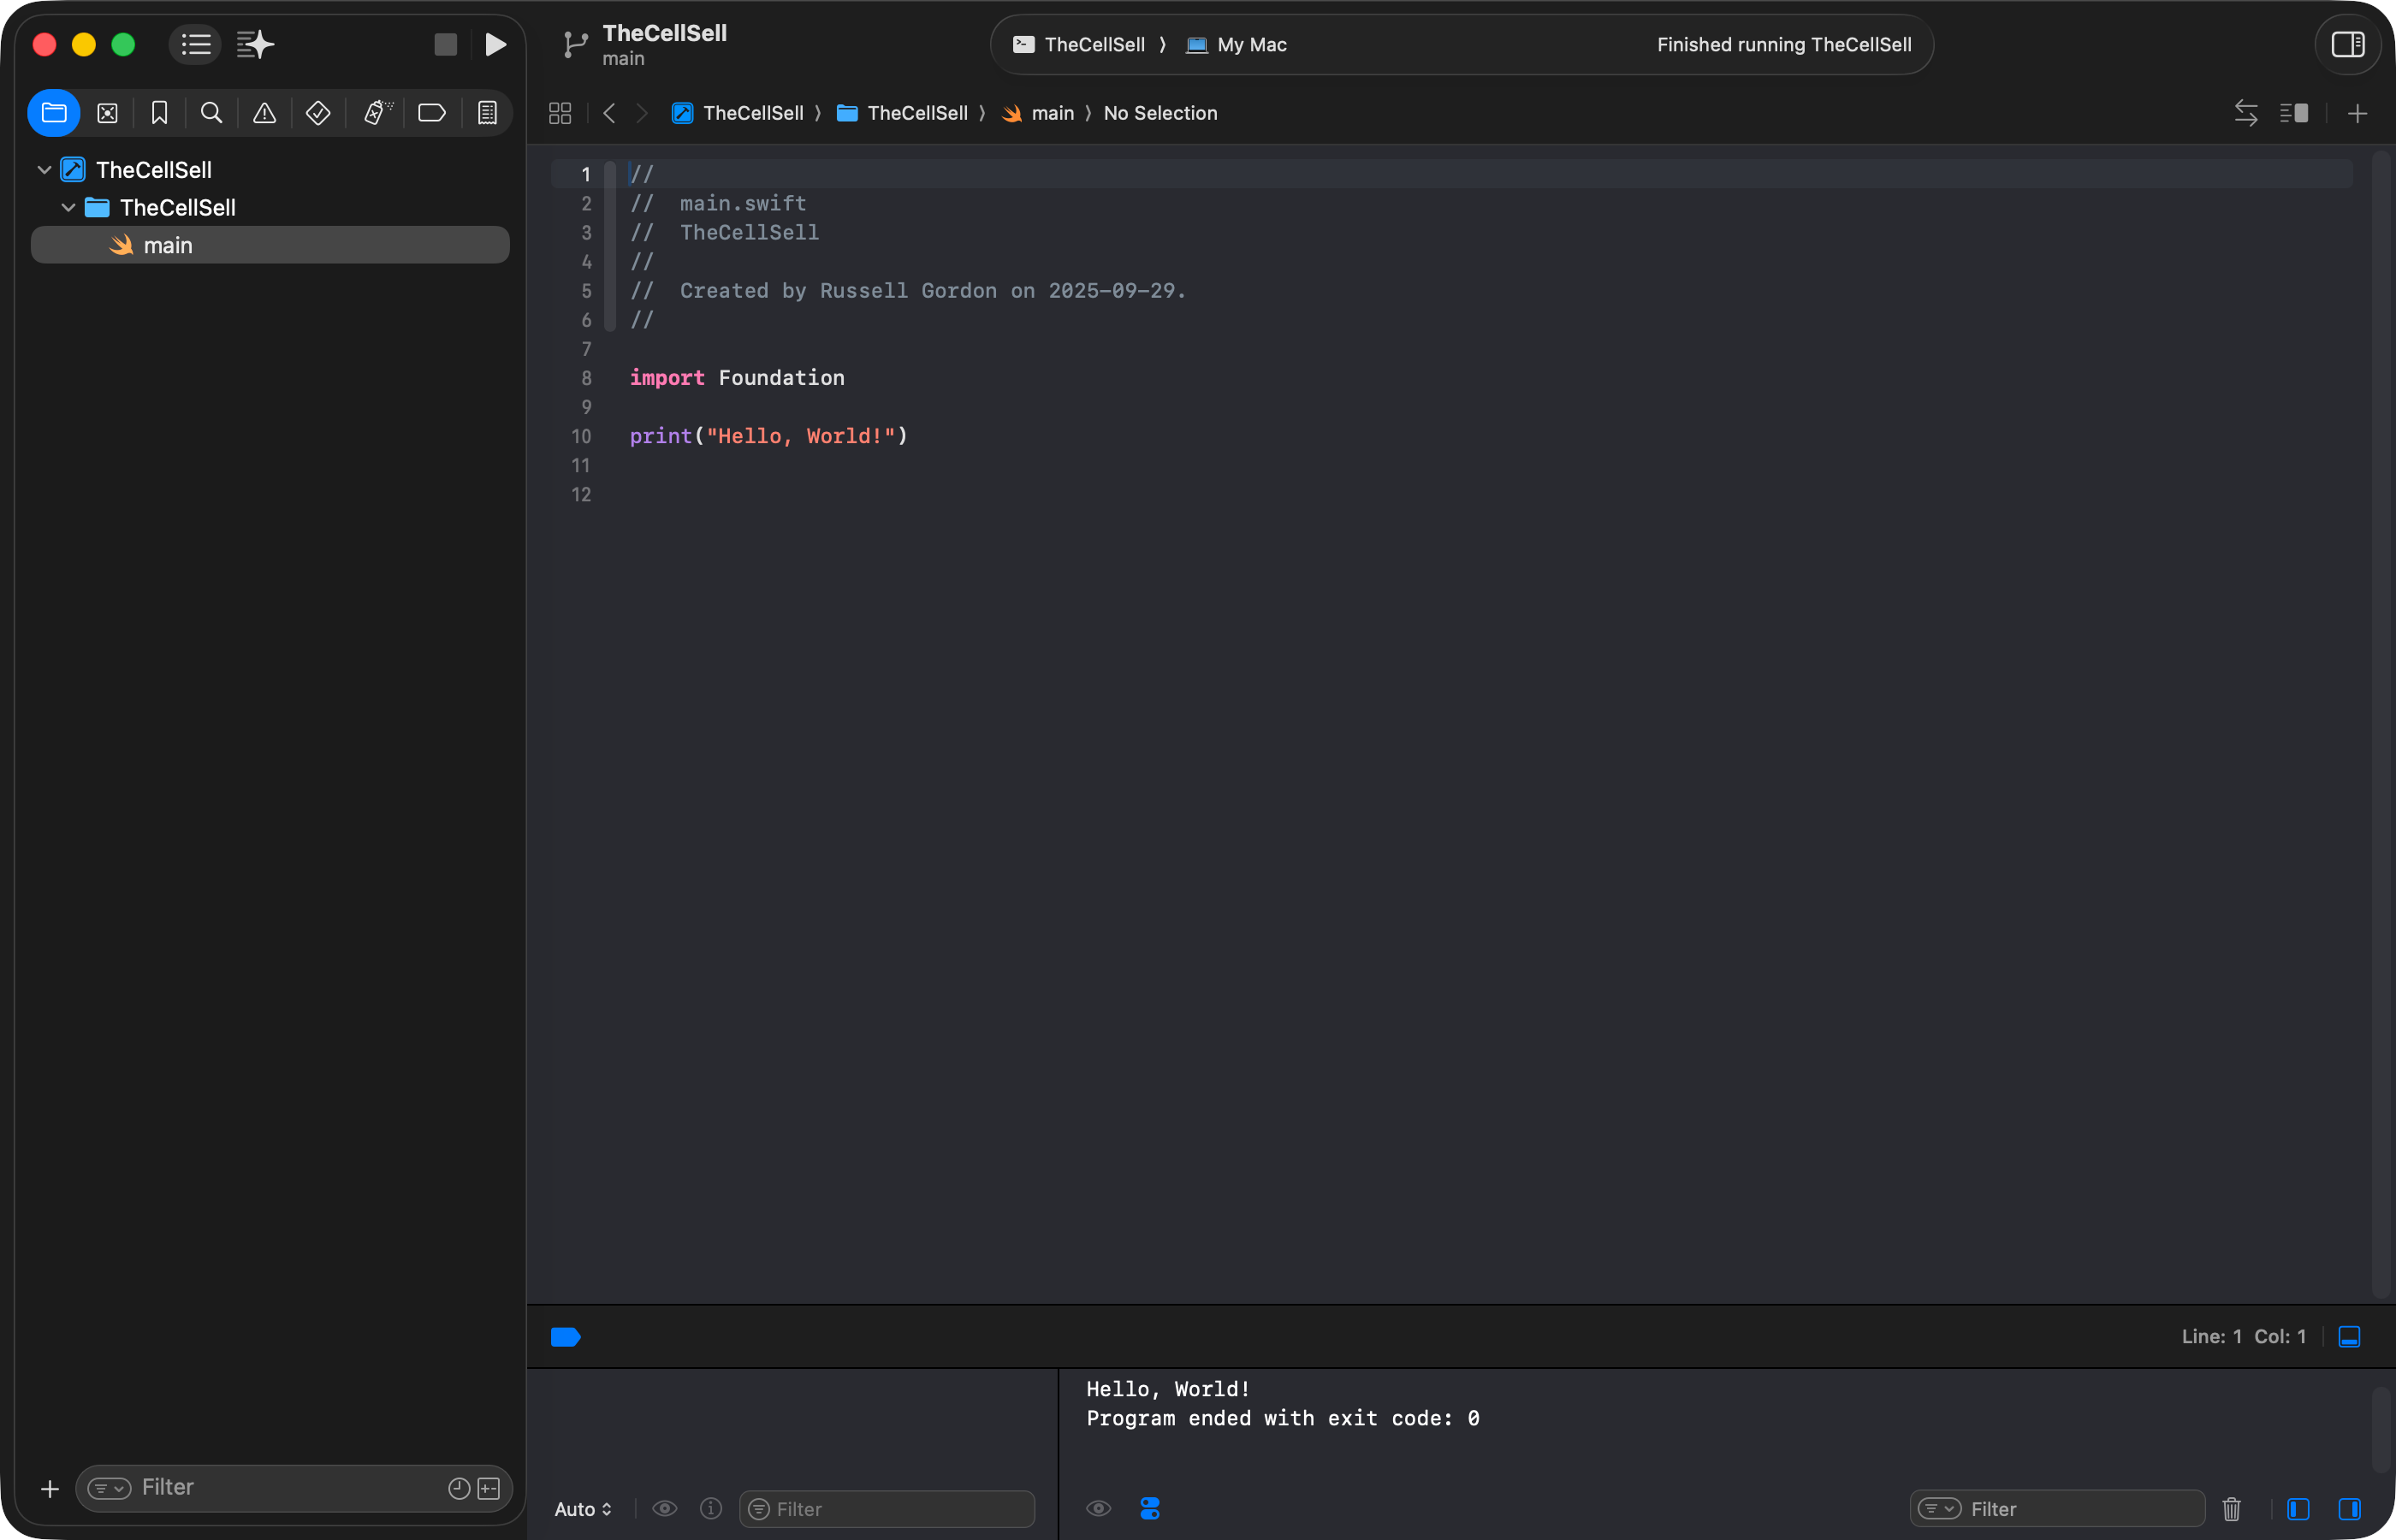
You can then run your command line program using the Command-R keyboard shortcut.
Output will appear below the code window:
NOTE
Do not be alarmed by the message:
Program ended with exit code: 0.That means the program ended without generating any errors.
Input and output
You can accept input from the user with the readLine function, which is provided by the Foundation framework.
You can show output using a print statement.
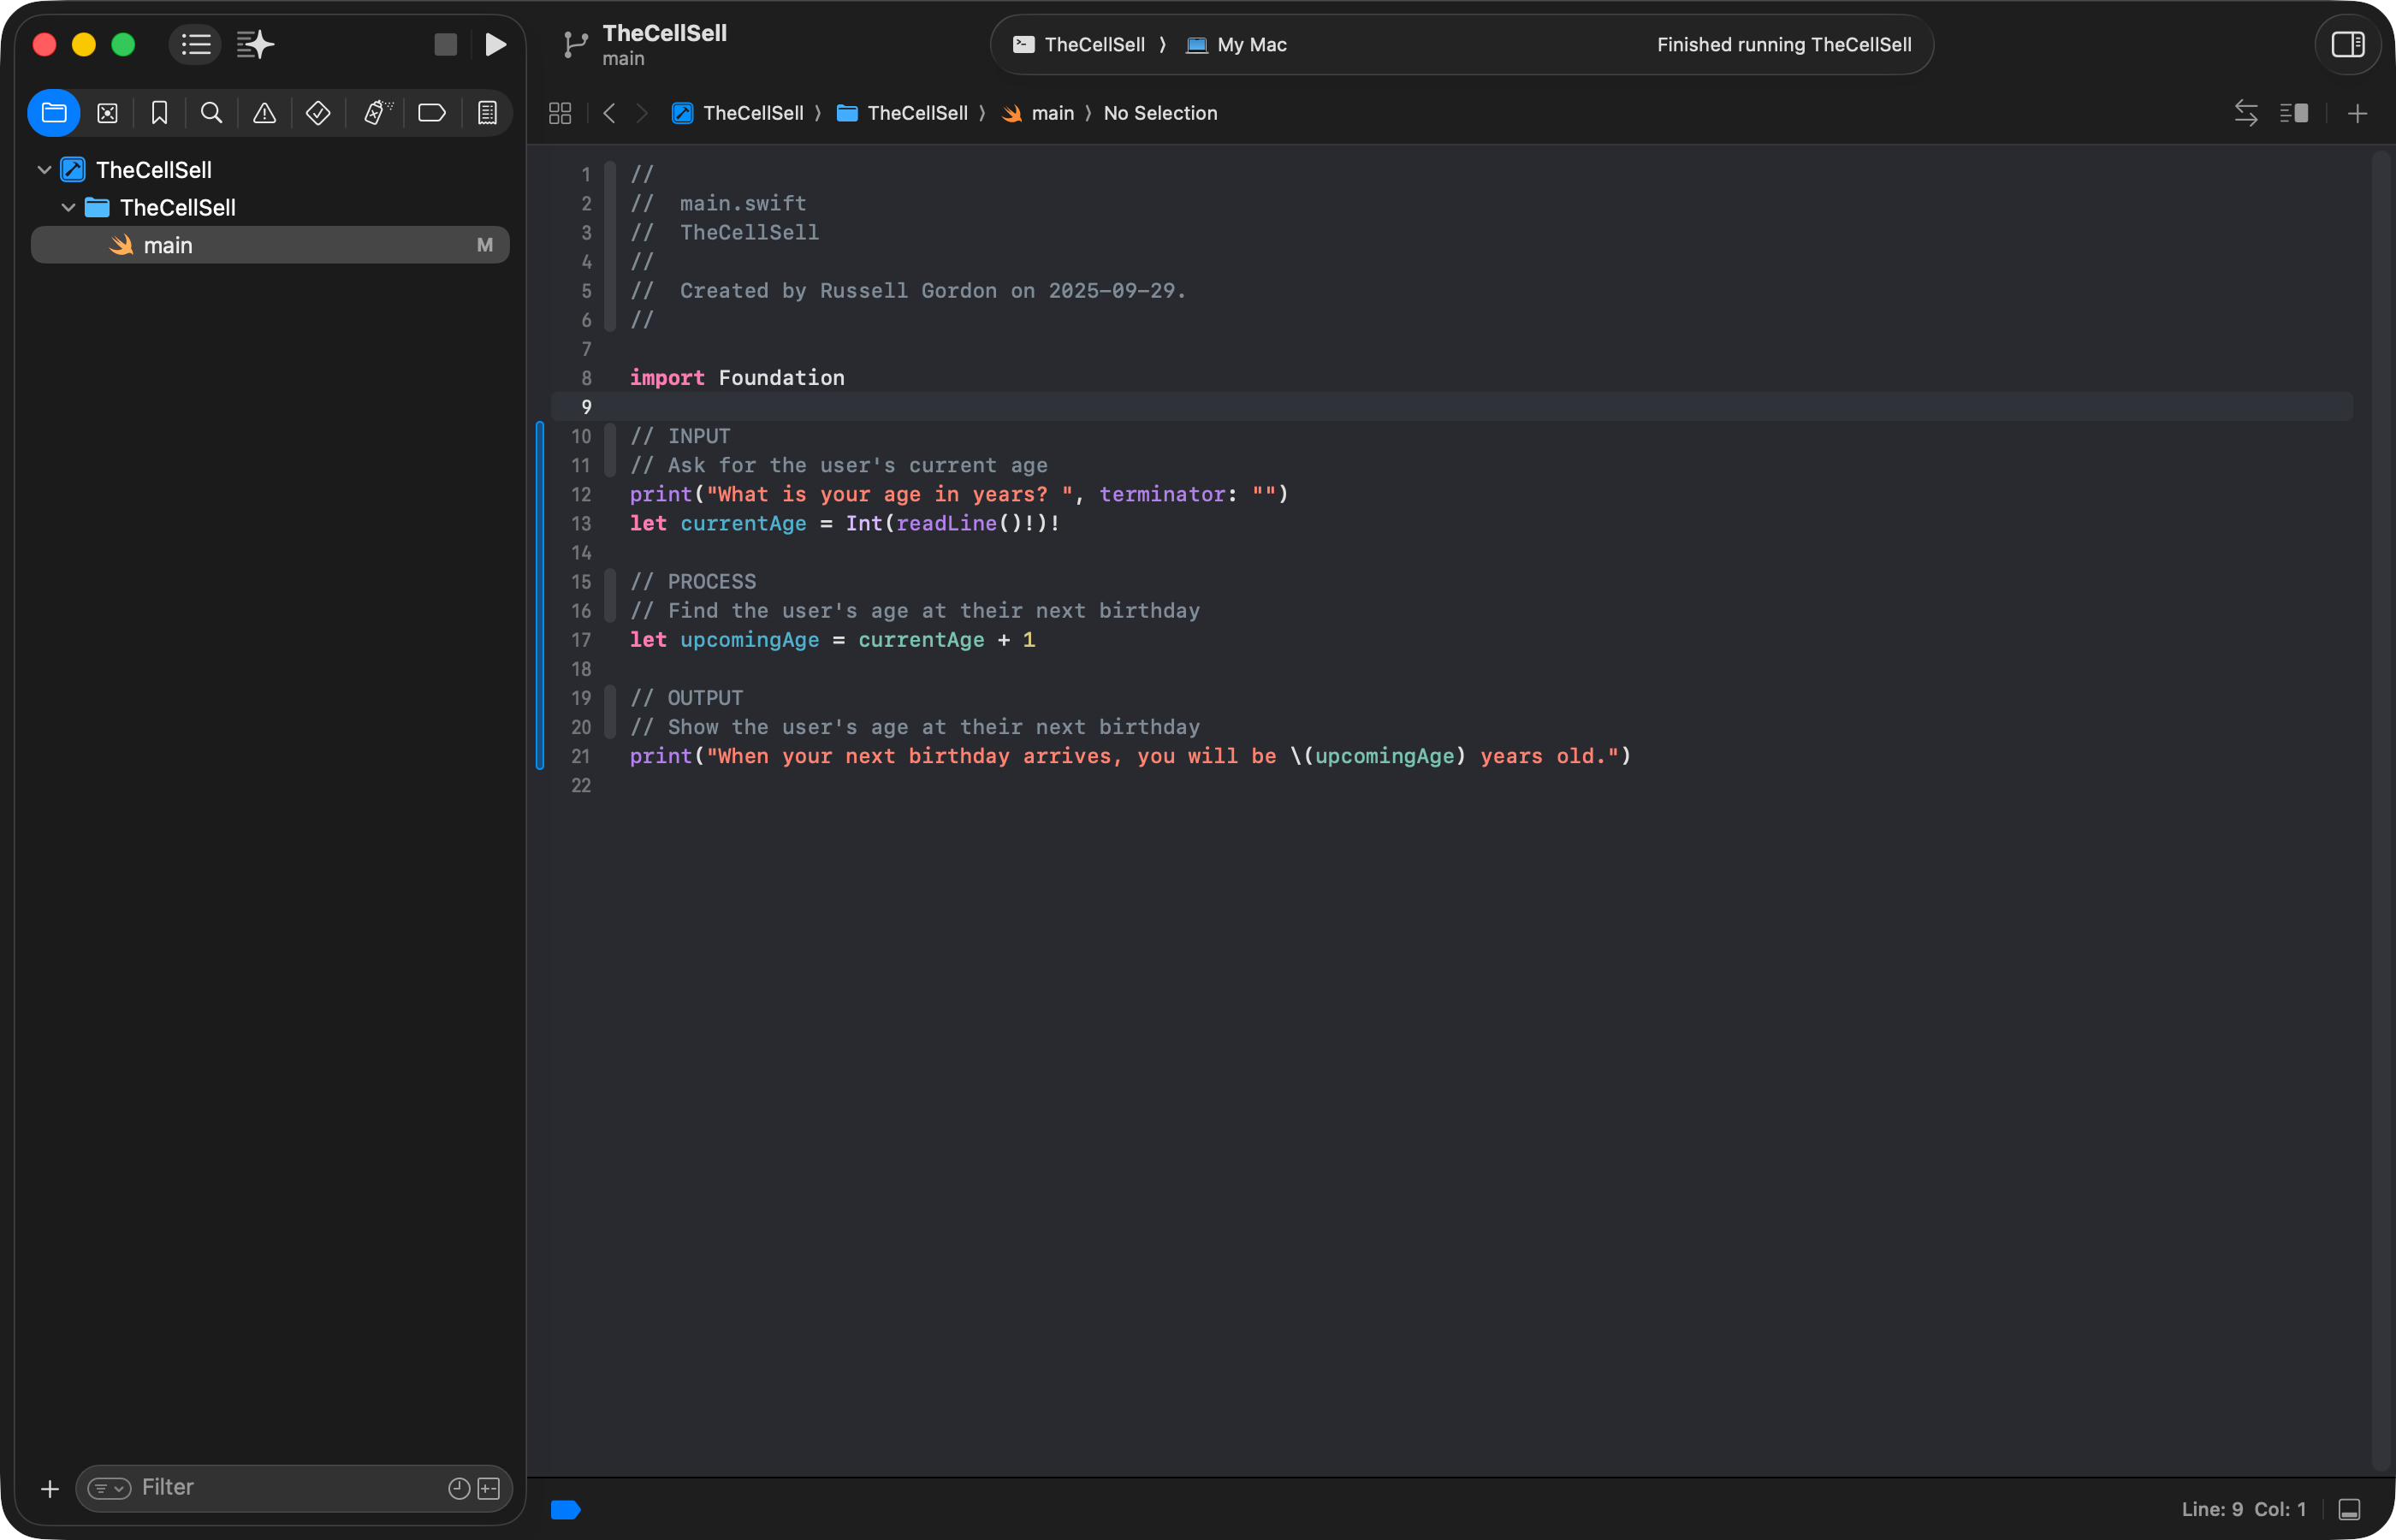
Try adding the following code into your new project:
import Foundation

// INPUT
// Ask for the user's current age
print("What is your age in years? ", terminator: "")
let currentAge = Int(readLine()!)!

// PROCESS
// Find the user's age at their next birthday
let upcomingAge = currentAge + 1

// OUTPUT
// Show the user's age at their next birthday
print("When your next birthday arrives, you will be \(upcomingAge) years old.")
… like this:
Run the code using Command-R, then provide input at the command line:
Stepping through code
It can be useful to step through code line by line.
You can do this in Xcode by setting a breakpoint.
When you run the program, it will wait at the line you set a breakpoint on.
You can then step through the code, line by line, and inspect the state of your program as you do so – that is, see what values variables contain: