To continue working on your student-led group software projects you will need to occasionally work with GitHub repositories from the command line interface of your Mac.
Install Homebrew
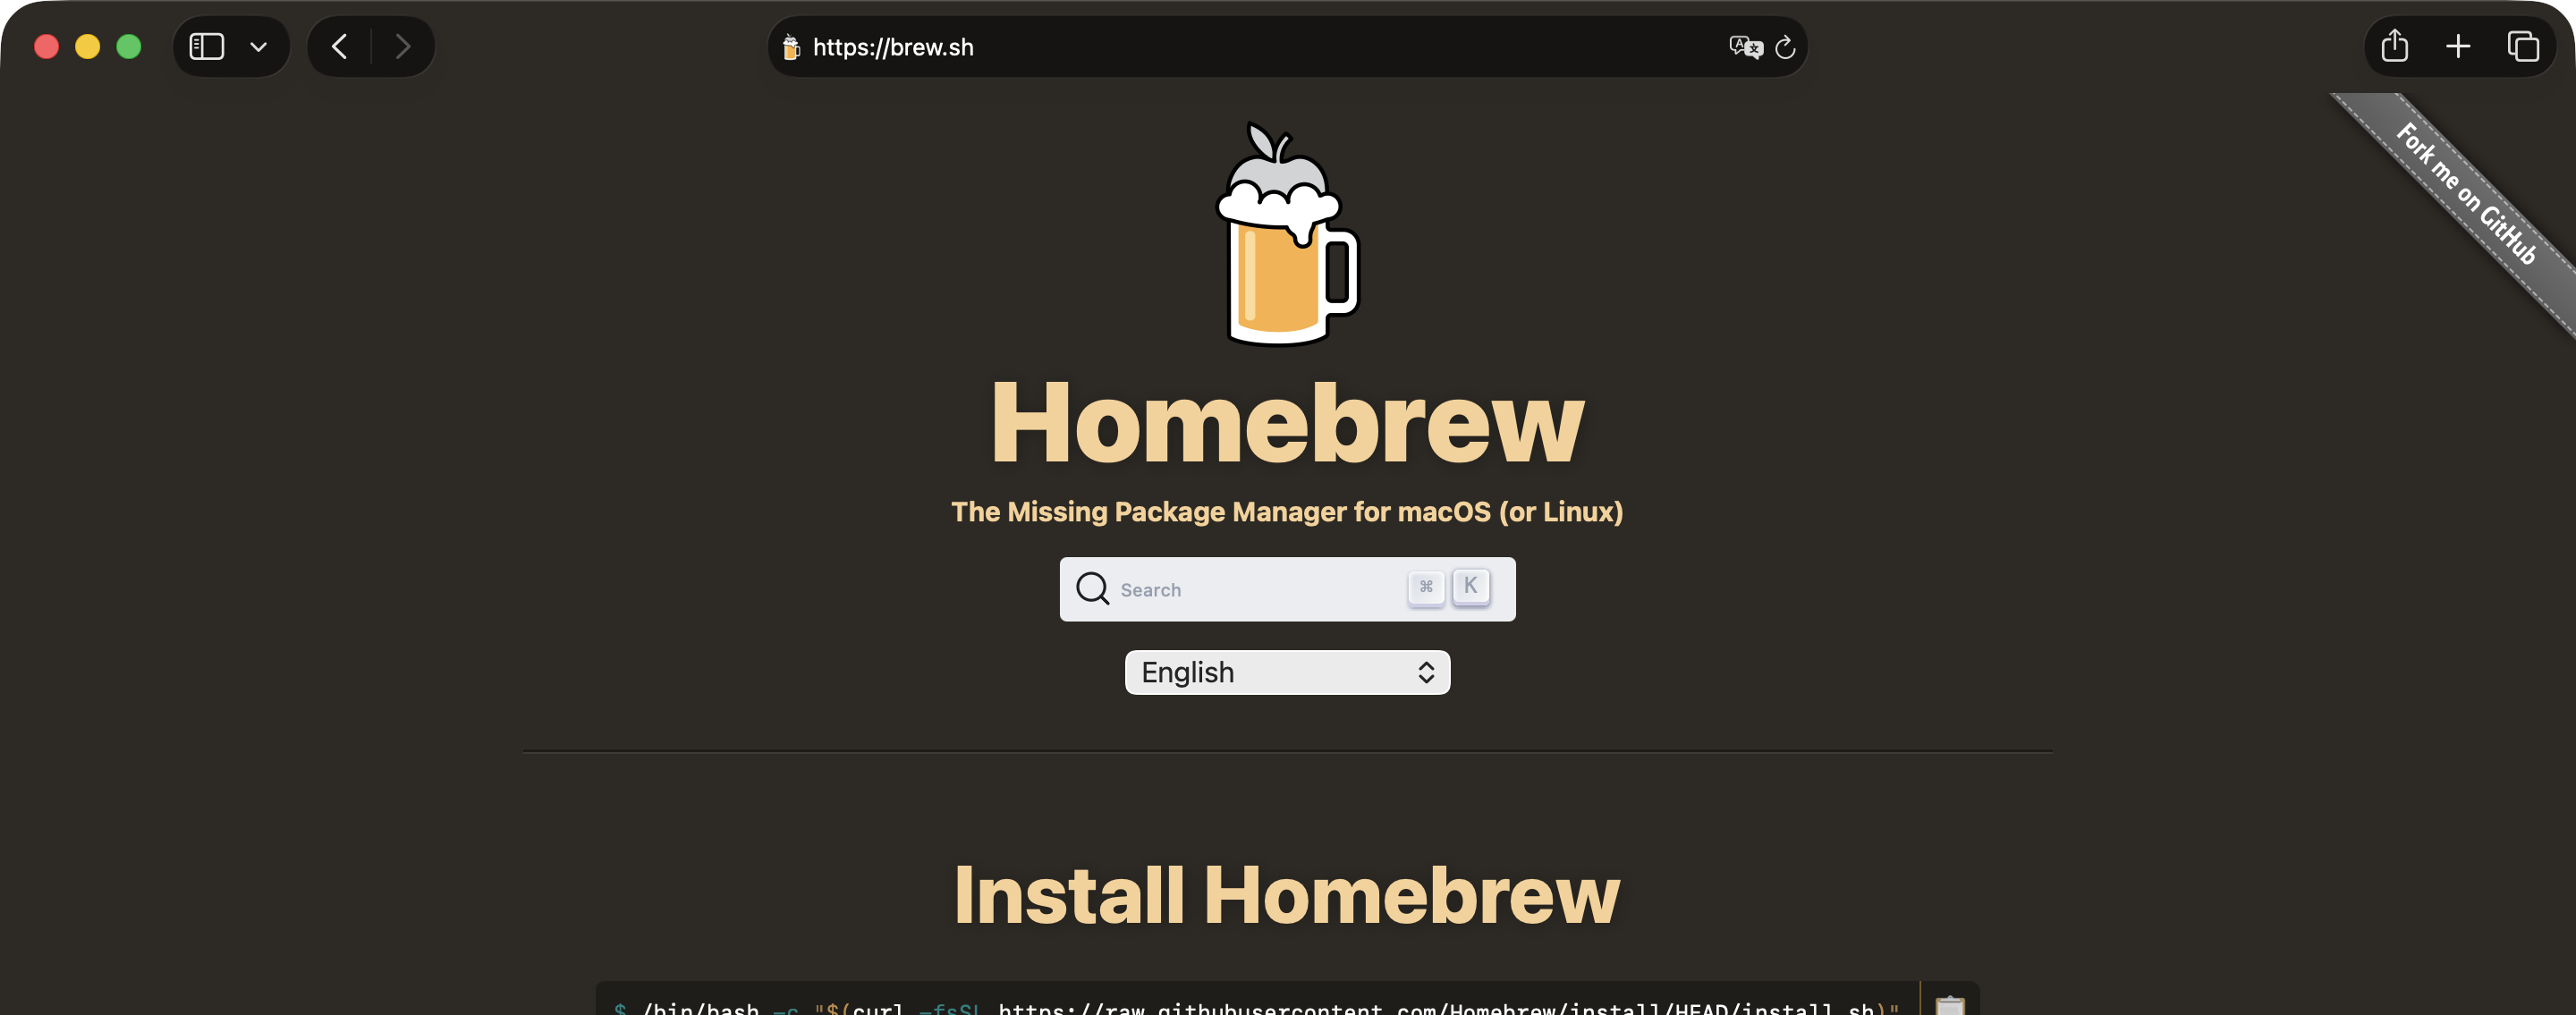
First, you’ll need to install Homebrew – software that makes it easier to in turn install other software that runs on the command line.
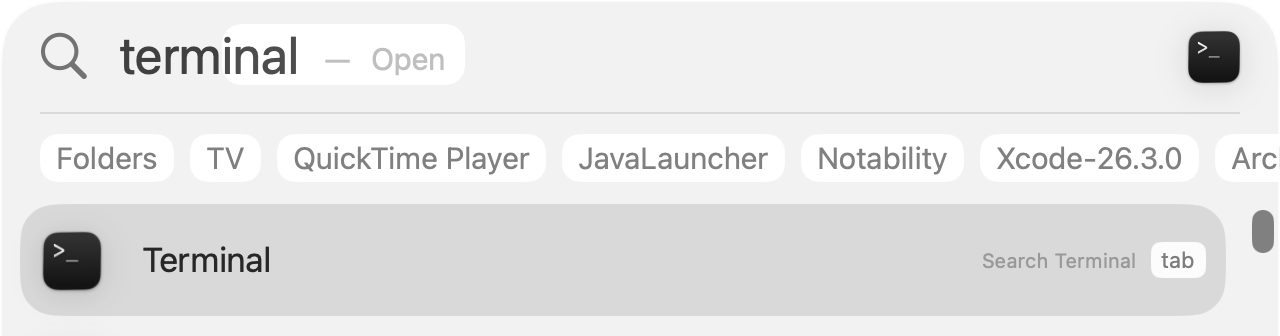
Begin by opening the Terminal app on your Mac.
You can use activate Spotlight using the Command-Spacebar keyboard shortcut to search for and then open Terminal:
Then, visit the Homebrew website and follow the instructions given there to install the software:
TIP
When you install Homebrew, the script will check for
sudoaccess and prompt you for your password. Provide the password that you use to log in to your user account on your Mac.
Install GitHub CLI
Assuming that you are comfortable with how to use the command line, first, we must install the GitHub Command Line Interface (CLI) tool.
To do that, assuming you have successfully installed Homebrew, simply type the following command in a Terminal window:
brew install ghAuthenticate
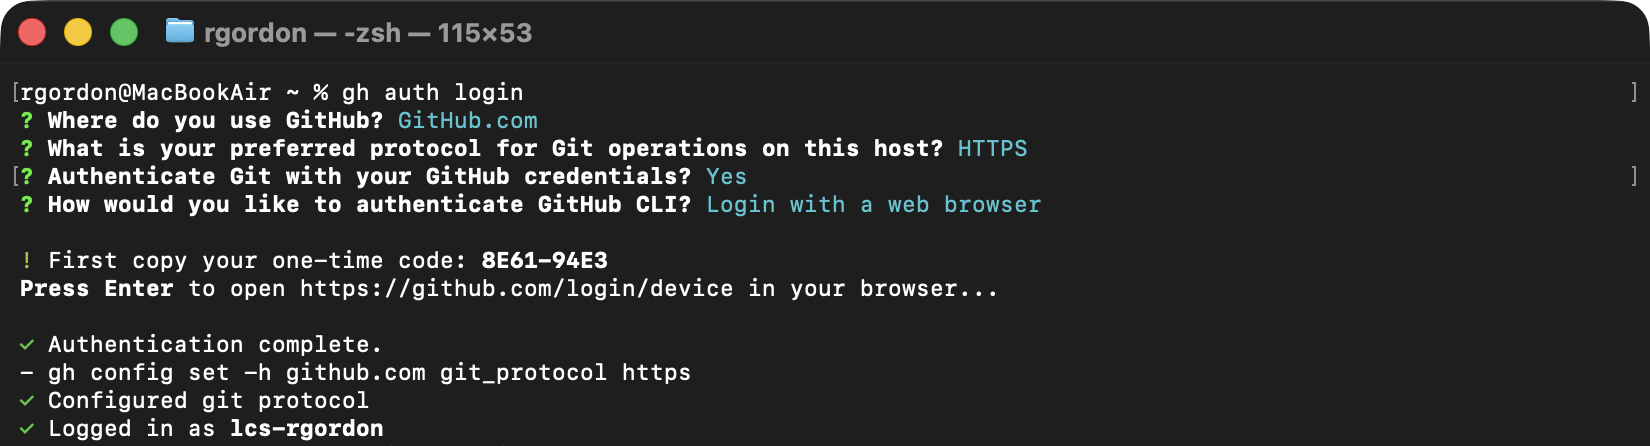
Next, you need to let github.com know that you are really you.
Do this by running the following command, and following the prompts given:
gh auth loginThe sequence of steps should look like this (your one-time code will differ):